Storage Locations
Storage locations represent where you physically keep client bins — shipping containers, barns, storage units, shelves, garages, etc.
Creating a Storage Location
- Go to Storage → Locations in the sidebar
- Click Add Location
- Enter a name (e.g., "Container 1" or "Barn A")
- Choose a type: Shipping Container, Barn, Storage Unit, Shelf, Garage, or Other
- Set the grid size — Rows and Columns define the layout for bin placement
- Add any notes
- Click Save
Editing or Deactivating
Click on any storage location to edit its details. You can deactivate a location if it's no longer in use — this hides it without deleting any bin data.
Bins
Bins hold a client's Christmas lights and decorations. Each bin is assigned to a client and placed in a storage location.
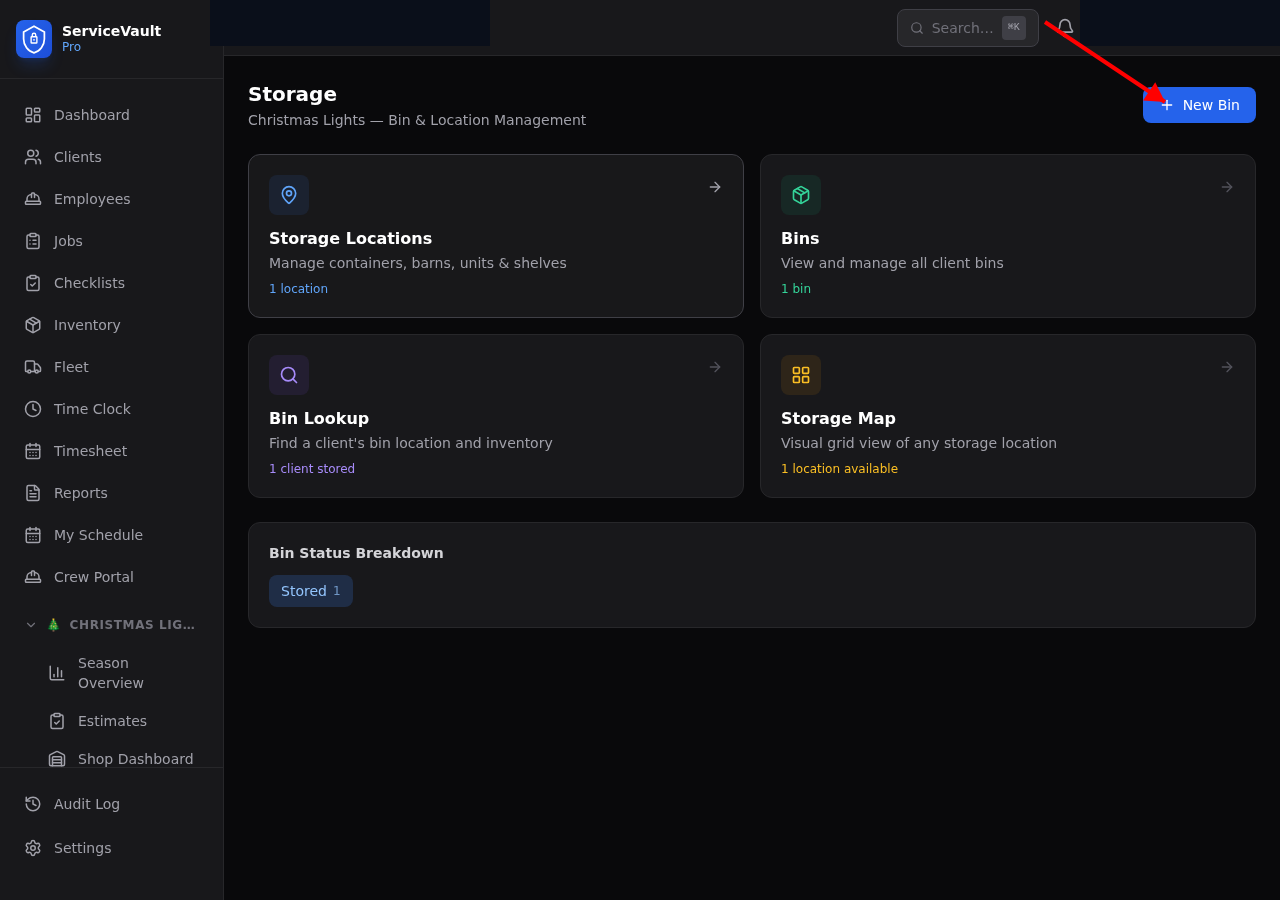
Creating a Bin
- Go to Storage → Bins
- Click Add Bin
- Enter a bin label (e.g., "Bin 247")
- Select the client this bin belongs to
- Choose a storage location
- Optionally set the row, column, and stack position in the grid
- Click Save
Bin Status
Bins move through these statuses during the season:
- Stored — In the storage location, waiting for install season
- Pulled — Pulled from storage, ready for prep
- Prepped — Contents checked and ready to load
- On Truck — Loaded on a vehicle for install
- Returned — Brought back after takedown
- Empty — No contents, available for reuse
Bin Contents
Each bin tracks its contents — what items are inside, their colors, quantities, and sizes. On the bin detail page, you can add, edit, or remove items like C9 bulbs, mini strands, garland, wreaths, timers, and wire.
Bin Lookup
Go to Storage → Lookup to quickly search for a client's bin. Type a client name and see which bins they have, where they're stored, and what's inside.
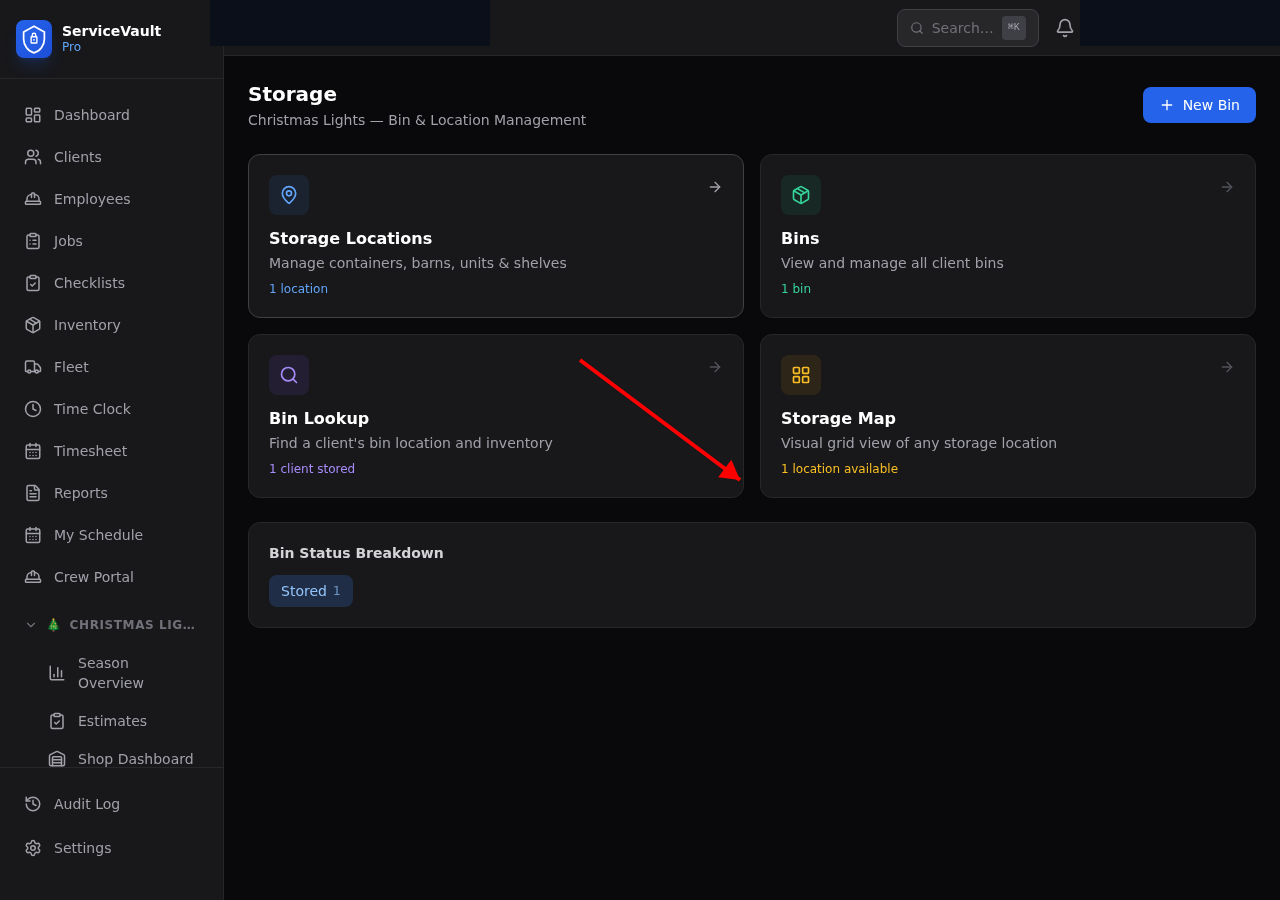
Storage Map
Go to Storage → Map to see a visual grid view of each storage location. Bins are displayed in their row/column positions so you can see exactly what's where — like a map of your container.